Living Alone? Custom Pet Check In Intervals That Cut Response to Hours
The right custom pet check-in interval matches how often your pet genuinely needs help, not a generic default. If your pet needs insulin every 12 hours, a daily check-in leaves a dangerous gap; if you have one healthy cat with an automatic feeder, checking in every hour is overkill. Pair a realistic frequency with a short grace period and a clear escalation path to your emergency contacts, and you close the gap between “something happened to me” and “someone is caring for my pet.”
TL;DR:
- Choosing the check-in interval should be based on each pet’s medical needs, with hourly checks for urgent care and once daily for healthy animals.
- Setting a short grace period, usually 15 to 30 minutes for critical pets and up to four hours for low-risk ones, helps prevent false alarms and alert fatigue.
- Building a reliable system requires aligning check-in times with daily routines, testing contacts regularly, and having a clear escalation order for emergencies.
- For multi-pet households, the most time-sensitive pet determines the overall check-in frequency, with separate care profiles for each animal.
- Review and update your pet care plan quarterly or after any medication, contact, or routine change to maintain a dependable check-in system.
Table of Contents
- How Do You Choose the Right Pet Check-In Schedule?
- How Do You Set Up Custom Check-In Intervals in a Wellness App?
- Who Should You Name as an Emergency Contact?
- What Changes for Multi-Pet or Special-Needs Households?
- How Do You Keep a Check-In System Reliable Over Time?
- Why We Push So Hard for Custom Intervals, Not Defaults
- Ready to Set Your First Custom Check-In?
- Sources
How Do You Choose the Right Pet Check-In Schedule?
Interval choice comes down to one question: how many hours can your pet safely go without you before a missed check-in matters? Answer that honestly for each animal, and the rest of the setup follows.
Hourly to every 2 hours fits pets with strict medical needs, like diabetic cats on insulin or dogs recovering from surgery with medication windows. This band works best paired with a grace period of 15 to 30 minutes and one retry before escalation, since a delay here has real consequences.
Every 4 to 6 hours suits most multi-pet households and pets on a standard feeding and bathroom-break routine. A grace period of one to two hours with two retry attempts gives you room for a late meeting or a dead phone battery without triggering a false alarm.
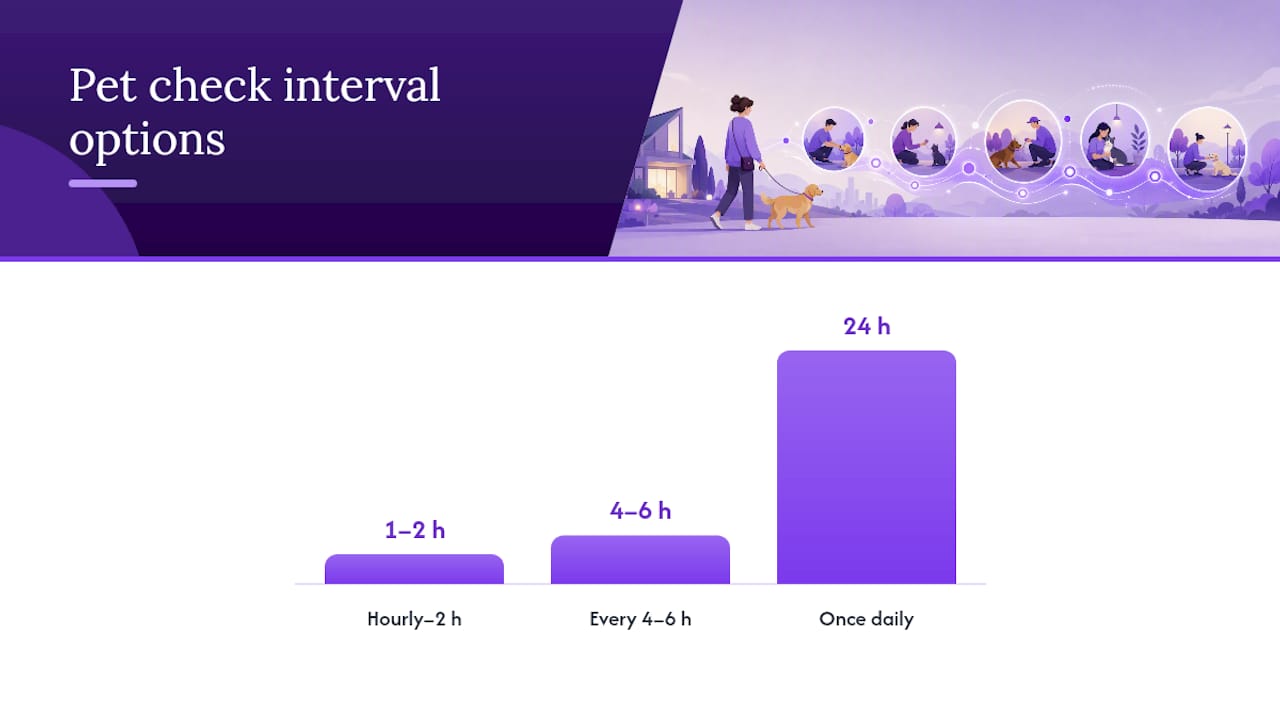
Once daily works for lower-risk situations: a single healthy adult dog with an automatic feeder and water system, or a cat with a self-cleaning litter box and dry food access. Here, a grace period of two to four hours before the first alert makes sense, since the pet isn’t in immediate danger from a short delay.
A few setup habits apply across every band:
- Align check-in times with something you already do daily, like morning coffee or a bedtime routine, so confirming doesn’t require a new habit.
- Give yourself more retries at longer intervals, since a missed daily check-in carries more weight than a missed hourly one.
- Review your interval choice after any schedule change, like a new job or a pet’s new medication.
- Treat the grace period as a buffer against false alarms, not a delay tactic. Shorter is safer, but too short creates alert fatigue for your contacts.
Fast escalation matters because of what happens on the other end. Automated wellness check-ins minimize the time pets are left unattended by notifying emergency contacts within hours rather than days when an owner becomes incapacitated. That single difference, hours versus days, is the entire point of building a custom interval instead of leaving it to chance.
How Do You Set Up Custom Check-In Intervals in a Wellness App?
Setting up a dependable system takes less time than most owners expect, and the order you do it in matters.
- List each pet’s required response window. Note feeding times, medication schedules, and bathroom needs so you know the tightest window any single pet requires.
- Pick check-in times tied to your routine. Morning coffee, lunch break, and lights out are easier to remember than arbitrary clock times, and they cut down on missed confirmations.
- Set your interval band, grace period, and retry count. Match the band to your highest-need pet, even in a multi-pet household, since the system should protect the animal with the shortest safety window.
- Choose your escalation order. Decide who gets notified first, second, and third if you don’t respond, and make sure each person knows their position in that order.
- Build a care profile for every pet. Include your vet’s name and number, current medications, feeding instructions, and where supplies are kept.
- Turn on multi-channel alerts and confirm consent. SMS, phone, and email each have failure points, like a dead phone or a spam filter, so layering channels reduces the chance a real emergency goes unnoticed.
Pro Tip: Set your first check-in interval slightly shorter than you think you need for the first two weeks. It’s easier to stretch a schedule once you trust it than to realize too late that six hours was too long for your dog’s bladder or your cat’s insulin routine.
If you live alone with a health condition, this setup does double duty: it monitors your wellbeing and your pet’s care in a single workflow. Reviewing your pet care plan for solo owners alongside your interval settings helps you catch gaps before they become emergencies.
Who Should You Name as an Emergency Contact?
Your escalation chain is only as strong as the people in it, so choose carefully and order them by who can act fastest.
- Physical proximity comes first. A neighbor five minutes away beats a sibling who lives two hours out, even if the sibling knows your pet better.
- Willingness matters as much as ability. Ask directly whether someone is comfortable entering your home and handling your pet under stress, rather than assuming a friend will say yes.
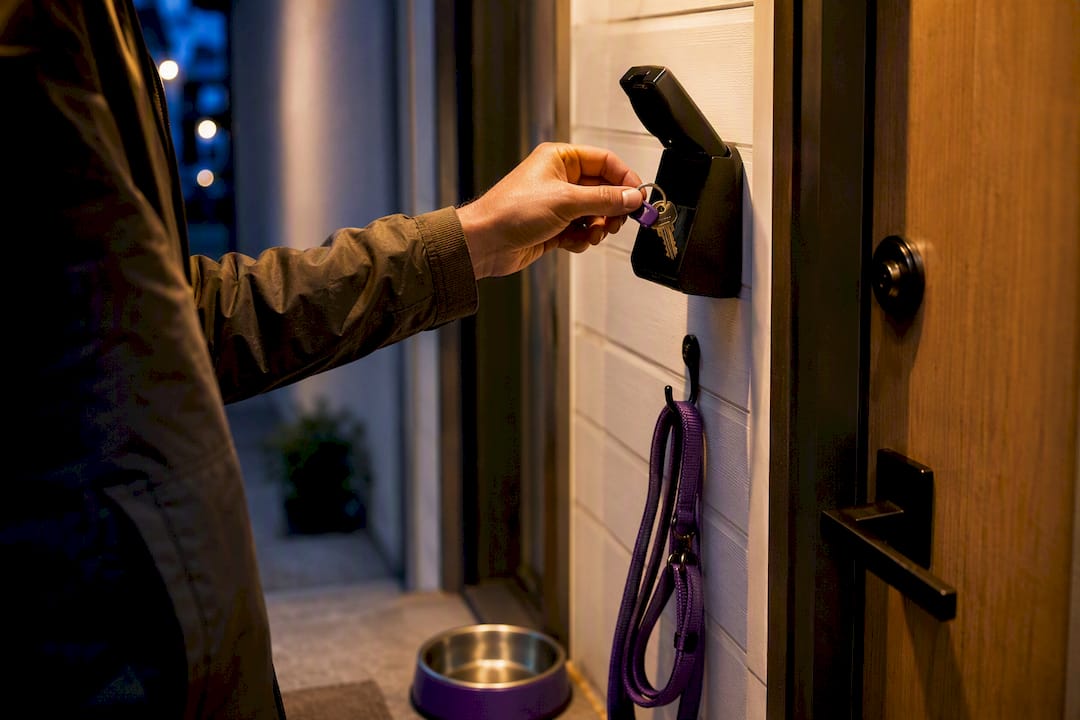
- Access is non-negotiable. Every contact needs a way in: a spare key, a lockbox code, or a garage code, confirmed and tested, not just promised.
- Order contacts by realistic availability, not just closeness. A retired neighbor who’s home most days may respond faster than a family member with an unpredictable work schedule.
Once your list is set, run a dry run. Call or text each contact, walk through what they’d actually do, and confirm they can find the key and the pet care instructions without confusion. Best practice among experienced users is to test contacts periodically, not just once at signup, so their knowledge stays current as your routine changes.
Pro Tip: Ask your primary contact to physically retrieve your spare key during the dry run, not just confirm they know where it is. “Knowing” and “being able to find it at 11 p.m.” are different things.
If none of your contacts can reliably reach your home within your grace period, consider adding a paid local pet sitter or boarding service as a fallback tier. Choosing enough emergency contacts for genuine redundancy, rather than naming one person and hoping, is worth the extra planning time.
What Changes for Multi-Pet or Special-Needs Households?
Different pets rarely share the same risk level, and your check-in setup should reflect that instead of averaging everyone into one schedule.
- Set the interval by your most time-sensitive pet. A diabetic cat needing insulin every 12 hours should drive the whole household’s check-in frequency, even if your dog would be fine on a daily schedule.
- Build separate care profiles per pet, with individual notes on medication dosages, feeding instructions, and supply locations, so a contact isn’t guessing which bowl or bottle belongs to which animal.
- Prioritize instructions for contacts. List which pet needs attention first if a contact can’t handle everyone at once during an emergency.
- Use accessibility features if you’re elderly or disabled. A single tap-to-confirm text or an automated phone call you can answer with a spoken “yes” removes barriers that a multi-step app confirmation might create.
Owners managing both their own health needs and a pet’s medical schedule benefit from a system built around fewer, simpler actions. Automated check-ins for disabled pet owners work best when confirming is a single tap, not a multi-screen process.
How Do You Keep a Check-In System Reliable Over Time?
A system you set up once and never touch again drifts out of date fast. Pets change medications, contacts move, and keys get replaced.
- Update profiles quarterly, or immediately after any change in medication, vet, or feeding routine.
- Run a dry run every few months. Confirm your primary contact still has working key access and current pet information.
- Follow a clear escalation timeline: a missed check-in triggers one or two retries, then your primary contact, then your secondary contact, then a local responder if neither can reach your home in time.
- Review the plan after any real trigger event, even a false alarm, and adjust grace periods or contact order based on what actually happened.
Daily automated check-in services that alert a care circle when you don’t respond show this timeline in practice: retries first, then a widening circle of people, until someone confirms your pet is safe.
Why We Push So Hard for Custom Intervals, Not Defaults
Most wellness apps ship with a one-size-fits-all check-in window, and that default is where the real risk hides. A diabetic cat and a healthy Labrador do not belong on the same schedule, yet plenty of owners never touch the settings after signup. We built Mypetssafetynet around the belief that the interval itself is the safety feature, not an afterthought to configure once and forget.
Smart monitoring devices can flag health trends, but sensor systems still can’t physically get someone through your front door. Custom intervals paired with a real human escalation chain, tested through actual dry runs, close that gap. Our emergency contact guidance exists because a plan nobody tested is just a hope.
— MyPetsSafetyNet
Ready to Set Your First Custom Check-In?
You already know the interval band your pet needs, the grace period that makes sense, and who belongs on your contact list. Wellness check-in services can turn your plan into a working system with per-pet care profiles, adjustable countdown intervals, and multi-channel alerts across SMS, phone, and email so a dead battery doesn’t break the chain.
Start with the free pet care card: it walks you through building your first pet profile, adding two or three emergency contacts, and scheduling your first check-in in the interval band that fits your pet’s real needs. If you’re weighing which channels to enable, our SMS consent details explain how each notification type works. Once your profile is built, run your first dry run this week, not next month, and confirm your contacts know exactly what to do.
Sources
- Emergency preparedness for pets | CDC
- Pet Owner Safety | Daily Check-Ins Protect Your Dog/Cat | Free Trial
- Are smart pet monitoring systems worth it? | SiiPet