Pet Microchip Registration Steps for Solo Owners
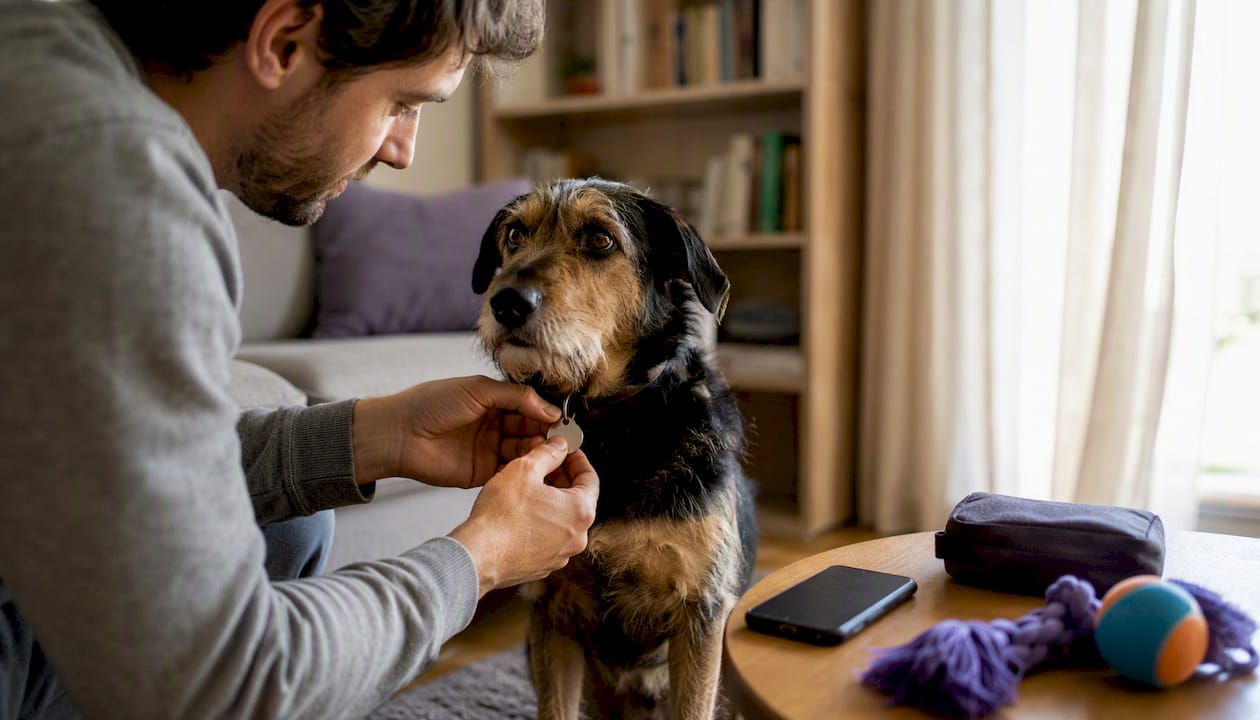
You can complete pet microchip registration steps for automated wellness checks in about 15 minutes: create your account, build a pet profile with the microchip number and medical details, name emergency contacts with clear authorization limits, set a check-in schedule with escalation, and run one test alert to confirm it works. That’s the whole process. Nothing about it requires a vet visit or special paperwork beyond what’s already in your pet’s file.
Here’s the flow in order:
- Create your account with contact info and backup notification methods.
- Build your pet’s profile — name, photo, species/breed, age, weight, and the microchip number.
- Add medical details — medications, allergies, chronic conditions, vaccine status.
- Name emergency contacts and write out exactly what each one is authorized to do.
- Set your wellness-check cadence and escalation timing.
- Run a verification test so you know the alerts actually reach someone.
Groups like the American Veterinary Medical Association and the ASPCA have published emergency planning guidance for years, but most of it assumes a static document someone has to remember to check. Mypetssafetynet automates the notification part. Setup typically runs free during a trial period, then moves to a monthly subscription once you’re ready to keep it running long term.
Table of Contents
- How do you register a pet for automated wellness checks?
- How do you set emergency contact authorization limits?
- How do you test and verify emergency notifications?
- How often should you review your pet’s emergency profile?
- What information gets shared during an emergency alert?
- What should go on a printable emergency pet card?
- How does MyPetsSafetyNet handle these registration steps?
- A solo owner’s perspective on testing the system
- What can you do in the next 30 minutes?
- Frequently asked questions about pet microchip registration steps
- Sources
How do you register a pet for automated wellness checks?
Registration starts with your own profile, not your pet’s. You’ll enter your primary phone number, email, and a backup contact method (many owners use a second phone number or a relative’s email as a failsafe). This matters because if your main number goes dark during an emergency, the system needs another way to reach you before it escalates to your contacts.
Once your owner profile is set, you move to the pet profile itself. Here’s what each field actually needs:
- Name and photo. Use a clear, recent photo. Not the one from three years ago when your dog was a puppy.
- Species, breed, date of birth or age, and weight. Weight matters more than owners expect. It’s the first thing an emergency vet asks about for dosing.
- Microchip number. This is a 9 to 15 digit code, usually printed on the paperwork you got when the chip was implanted. If you don’t have that paperwork, most vet clinics can scan the chip and read the number back to you in under a minute.
- Medical details. List current medications with doses, known allergies, and any chronic conditions like diabetes or seizure disorders.
- Behavior and handling notes. Does your dog bite when scared? Does your cat need to be approached slowly? Write it down.
- Vaccine status. This matters most if a boarding facility or shelter needs to take your pet in on short notice.
Set your wellness-check cadence next. Daily check-ins work best for solo owners living alone, especially those managing a health condition. Choose your notification channel (SMS tends to get faster responses than email), and set the escalation window. A typical setup gives you a few hours to respond before the system moves to your first emergency contact, then a shorter window before it tries the second.
Before you start entering anything, do yourself a favor and gather your materials first. Have on hand:
- Microchip paperwork or your vet’s phone number if you need a chip scanned
- A current photo of your pet
- A written list of medications and doses
- Your regular vet’s name and phone number
Pro Tip: Take the microchip paperwork photo with your phone before you throw anything away. Scan it into your photos app so you’re never digging through a filing cabinet during a crisis.
How do you set emergency contact authorization limits?
Not every emergency contact needs the same authority, and treating them all the same is where most pet safety plans fall apart. The AVMA’s guidance on emergency preparedness for pet owners draws a clear line: pick a trusted decision-maker and specify exactly what treatments they can authorize, in writing, before you need them to act.
There are three distinct roles worth naming separately in your profile:
- Check-in contact. Someone who can physically get to your pet quickly and confirm they’re fed, safe, and not in distress.
- Temporary caregiver. Someone willing to take your pet home for a few days if you’re hospitalized.
- Emergency decision-maker. The person authorized to approve veterinary treatment, including cost decisions, on your behalf.
The ASPCA points out something owners often miss: a check-in contact doesn’t have to be your long-term caregiver. Separating those roles widens your pool of willing helpers, because plenty of neighbors will happily peek in on your cat for a day who wouldn’t sign up to foster her for two weeks.
For the authorization limits themselves, record these specifics rather than leaving things vague:
- A dollar cap on veterinary spending your contact can approve without calling you first
- Explicit consent (or refusal) for diagnostic testing and surgery
- Your euthanasia preferences, if you have strong ones
- Permission to transport your pet to a different clinic or their own home
Use direct, short phrasing in the authorization field. Something like: “Maria Chen is authorized to approve veterinary treatment up to $1,500 without prior consent from me. She may not authorize euthanasia without contacting my sister, Jane Chen, first.” That sentence resolves ambiguity a vet tech would otherwise have to guess at.
Pro Tip: Name a second-in-command alternate contact in case your first choice is unreachable, and add that same person to your pet’s microchip registry where the registry allows a secondary contact field.
How do you test and verify emergency notifications?
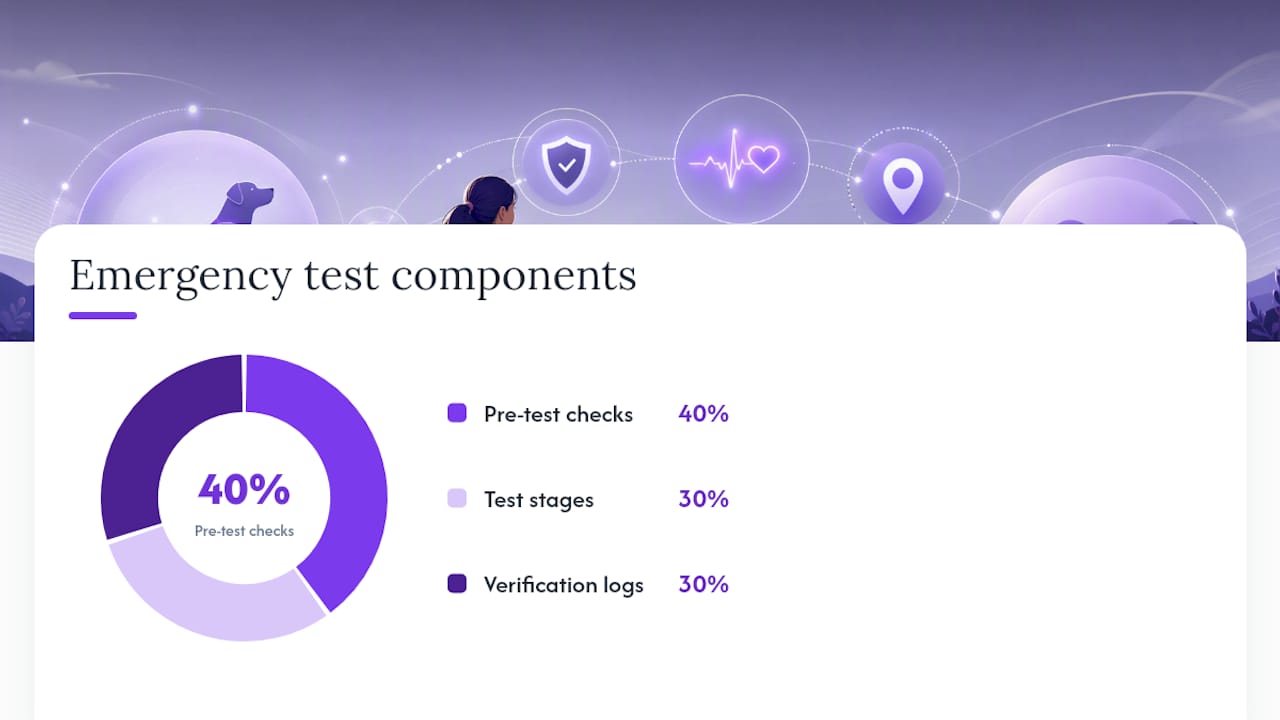
Setting up a wellness-check system and never testing it is like buying a smoke detector and never pressing the test button. Before you trust the system, confirm every piece works.
Start with a pre-test checklist:
- Confirm phone numbers are typed correctly, with the right area code
- Verify contact emails aren’t misspelled
- Check your account time zone matches your actual location
- Make sure notification permissions are turned on for the app on your phone
Then run the actual test in three stages:
- Manual check-in. Confirm you receive the prompt and can respond successfully.
- Simulated miss. Skip a scheduled check-in on purpose and watch what happens next.
- Escalation observation. Confirm the system moves to your emergency contact after the countdown expires, and that the message includes your pet’s profile details, not just a generic alert.
What you’re looking for afterward are the verification artifacts: a delivery receipt showing the message was sent, a timestamp confirming when your contact opened it, and a response log showing they acknowledged it. Automated check-in systems in other pet-care contexts, like boarding facility workflows, rely on the same kind of logged confirmation trail to prove information actually reached someone rather than just being sent into the void.
Pro Tip: Schedule your test for a time when your emergency contacts are actually free, and ask them to confirm out loud that they can open the attached pet-care instructions and photos on their phone.
How often should you review your pet’s emergency profile?
A profile that’s accurate today can be dangerously outdated in six months. Vets get changed, medications get adjusted, addresses change. The AAHA’s guidance on pet sitter instructions recommends reviewing emergency information every 6 to 12 months, or immediately after any major change.
Update right away when any of these happen:
- Your pet starts a new medication or changes dosage
- You switch veterinary clinics
- You move to a new address
- Your pet’s microchip registry contact details change
- An emergency contact’s phone number or email changes
At each review, walk through this list:
- Are the phone numbers for every emergency contact still correct?
- Do the authorization notes still reflect your current wishes?
- Are medication doses current?
- Is the photo still recent?
- Is vaccine status current enough for boarding or shelter intake?
Set a calendar reminder twice a year rather than relying on memory. If you have a trusted friend or family member who’s also listed as a contact, consider asking them to help you do the review together. A second set of eyes catches typos you’d otherwise miss.
What information gets shared during an emergency alert?
When your wellness-check system escalates to a contact, it typically shares your pet’s name and photo, medical notes, microchip number, your regular vet’s contact info, and your own contact details and last known location if you’ve chosen to include it. Everything else stays private by default.
A few practices keep that exposure controlled without sacrificing usefulness:
- Limit payment or financial details to what’s strictly necessary for authorized spending caps
- Use role-based authorization so a check-in contact doesn’t automatically see decision-maker-level details
- Turn on two-factor authentication for your account
- Review your phone’s notification permissions so alerts don’t display sensitive text on a locked screen
Inside the platform, look for privacy toggles that let you control specifics: whether to share a photo, whether to share full medical history versus a summary, and whether your home address is visible to contacts or withheld until escalation actually triggers. The strongest trust signal in any of this isn’t a privacy policy. It’s the audit log and delivery receipt that prove exactly who saw what and when.
What should go on a printable emergency pet card?
A printed card is the backup for your backup. If your phone dies or a caregiver isn’t tech savvy, paper still works when the power doesn’t. The Spectrumcare recommends including at least five contact types on the card, and that’s a good baseline to build from.
Your card should include:
- Pet name, species/breed, age, and weight
- Primary vet name and phone number
- Nearest 24/7 emergency clinic
- Microchip number and where it appears in your profile
- Current medications and doses
- Known allergies
- Behavior and handling notes
- Authorized caregiver names and phone numbers
- Poison control hotlines
Print several copies. Put one on the fridge, one in your wallet, one in the pet carrier, and one in the glove compartment of your car. Laminate a smaller version for a collar tag or carrier pouch since it’ll take wear over time. Keep a digital copy in your phone’s photo album too, since free templates and printable emergency ID tools exist precisely because paper alone has limits during evacuations.
Pro Tip: Add a QR code to the printed card that links directly to your live pet profile. That way a contact isn’t typing a long web address by hand during a stressful moment. Some pet ID tools already generate scannable codes for exactly this purpose.
For deeper background on assembling this kind of documentation, our guide on pet care emergency document essentials walks through additional templates worth keeping on file.
How does MyPetsSafetyNet handle these registration steps?
Every step covered above maps directly onto a Mypetssafetynet feature, which is the point. This isn’t a system you configure once and hope works. It’s built around the exact fields a solo owner needs filled in correctly.
Here’s how the mapping works:
- The pet profile fields cover microchip number, medications, vet contact, and behavioral flags in one screen, not scattered across separate documents.
- The authorization settings let you assign up to three emergency contacts, each with customizable countdown intervals before escalation triggers.
- The escalation workflow automatically attaches your pet’s full care instructions to the alert message, so a contact isn’t calling you back with questions at 2 a.m.
- The emergency card generator produces a printable, ready-to-use card straight from your existing profile data, no retyping required.
Getting started takes about 15 minutes during the free trial. You create your account, add one pet, name your contacts, and set your check-in cadence. Most owners run their first verification test the same day they sign up, which is exactly the order we’d recommend.
If you’re ready to act, you can generate a free pet emergency card directly from your profile once it’s built. For owners still weighing options on temporary custody or caregiver agreements, our posts on temporary pet custody planning and writing pet care instructions cover the surrounding decisions in more depth.
A solo owner’s perspective on testing the system
I set this up after a health scare made me realize nobody would know to check on my dog if something happened to me overnight. I filled in his microchip number, his thyroid medication dose, and his vet’s after-hours line, then named my sister and a neighbor as contacts with different levels of authority. The neighbor could check in and feed him; my sister could authorize surgery up to a dollar amount we’d agreed on ahead of time. When I ran my first test through Mypetssafetynet and my sister texted back within four minutes asking if I was actually okay, that was the moment the whole thing stopped feeling theoretical.
What can you do in the next 30 minutes?
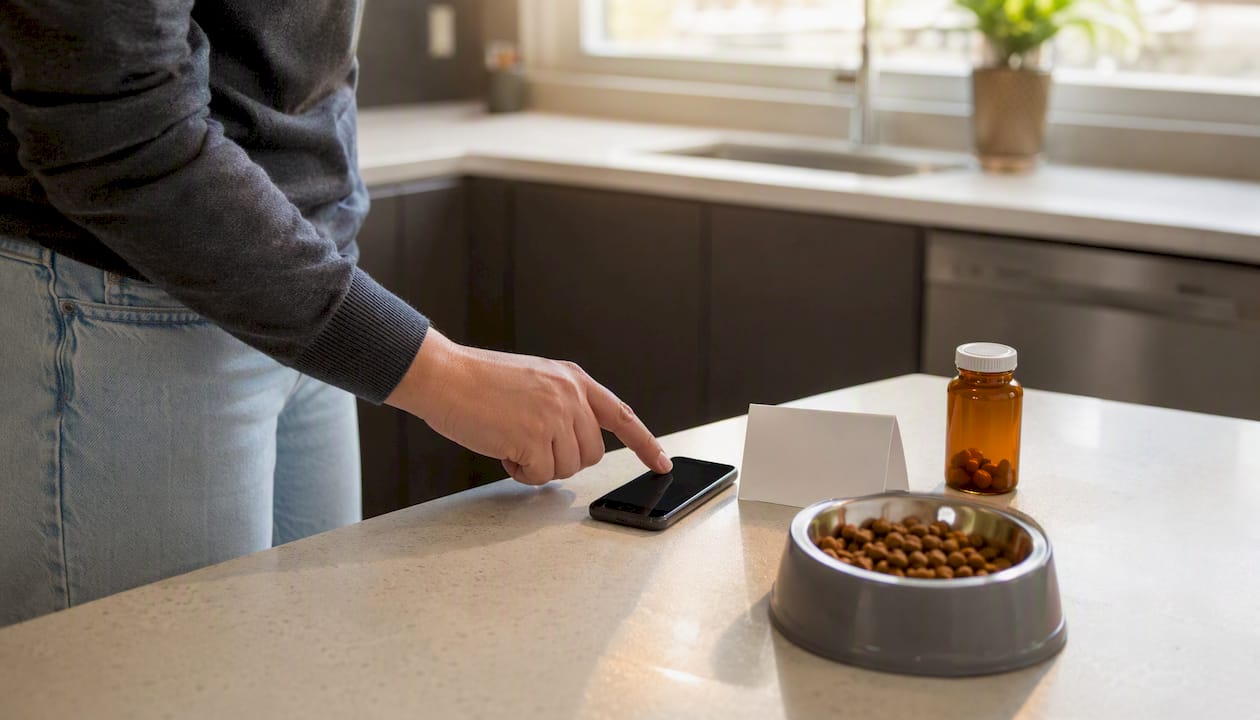
Complete these registration steps for a pet microchip and wellness-check profile that don’t require a full afternoon. Set aside 30 minutes and finish the core setup today.
| Point | Details |
|---|---|
| Create your account | Set up owner contact info and a backup notification method first. |
| Add one pet profile | Include a current photo, microchip number, and one medication if applicable. |
| Name two emergency contacts | Write explicit authorization lines for each, not vague permissions. |
| Run one verification test | Confirm delivery receipts and a contact response before trusting the system. |
| Print an emergency card | Keep printable templates in mind for the fridge, wallet, and pet carrier. |
Frequently asked questions about pet microchip registration steps
Is pet microchip registration necessary for an automated wellness-check service to work? Yes, in the sense that entering the microchip number into your pet’s profile lets any emergency contact or vet confirm identity quickly if your pet gets separated from its card or carrier during a crisis.
How long does the pet microchip setup process take? Most owners finish the core setup, account, pet profile, contacts, and one test, in about 15 minutes. Building out full medical details and printing a card takes a bit longer.
What if I only have my pet’s microchip paperwork and haven’t scanned the chip myself? That’s fine. The number printed on your original microchip paperwork is the same number stored in the chip. You don’t need a scan unless you’ve lost that paperwork entirely.
How many emergency contacts can I add? Mypetssafetynet supports up to three emergency contacts per account, each with their own authorization limits and notification preferences.
Do I need to link my pet’s microchip number to a national database separately? Your microchip’s manufacturer registry (where the chip was originally registered) is separate from your wellness-check profile. Keep both updated, since they serve different purposes: one helps a shelter identify your pet, the other alerts a human when you don’t check in.
Sources
A few authoritative resources are worth keeping close, both for your own research and for the phone numbers themselves:
- Ensuring your pet is protected when you’re away | American Veterinary Medical Association
- Making a Plan for Your Pet | ASPCA
- Preparing for the unexpected: essential pet sitter instructions | AAHA
- Spectrumcare
Add your pet’s regular clinic and the nearest 24/7 emergency hospital to every card you print, alongside these two hotlines. A card missing your own vet’s number is only half useful when minutes matter.