Ready in 15 Minutes: Pet Disaster Plan for Solo Owners
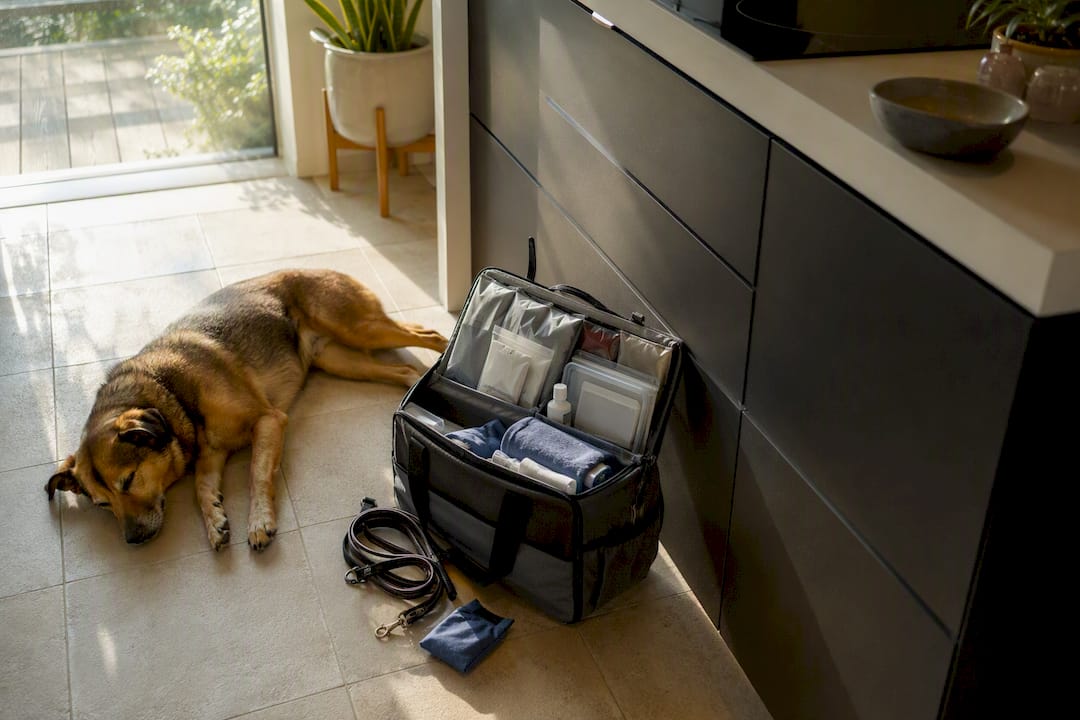
If something happens to you and you can’t respond, the plan that keeps your pets safe has three parts: an automated daily check-in that notices when you go silent, a response chain of at least two people (one with a key to your home), and a pet dossier that tells whoever shows up exactly what to do. Set those up together, and detection shrinks from days to hours instead of leaving your dog or cat waiting for someone to notice something is wrong.
TL;DR:
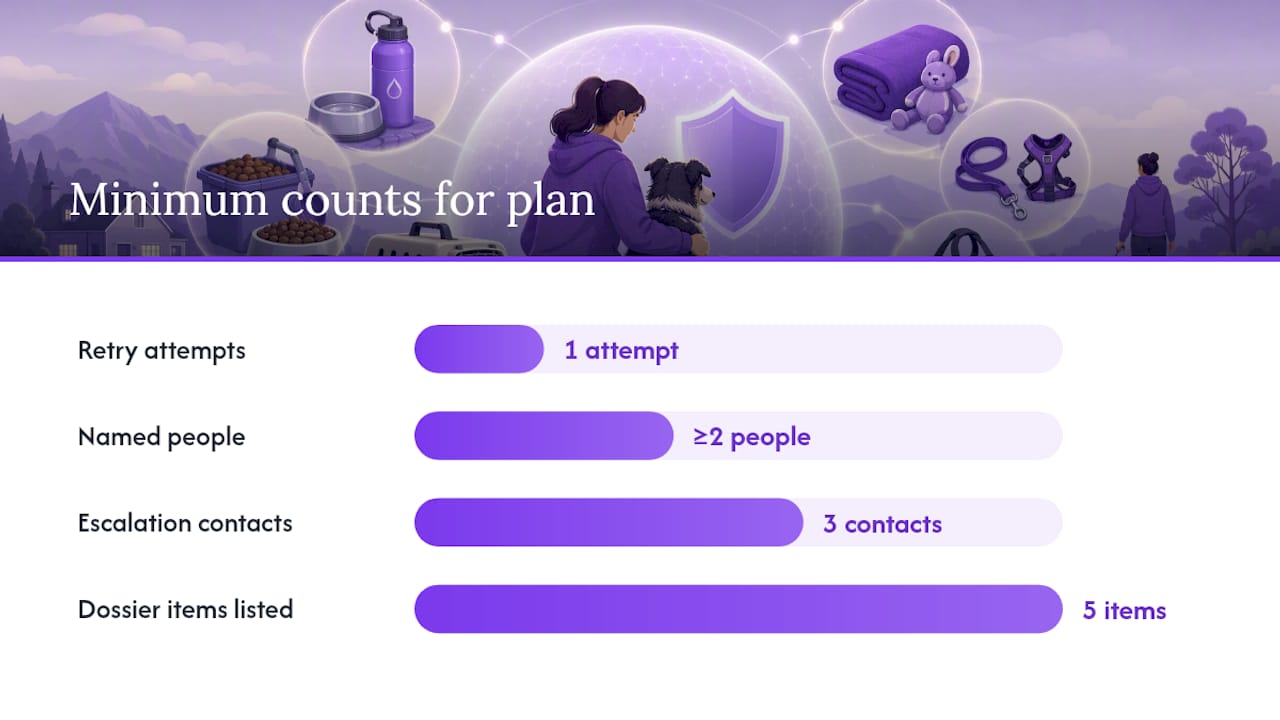
- An automated daily check-in, a response chain with at least two local contacts, and a detailed pet dossier are essential for effective pet emergency planning.
- Testing the plan regularly, including dry runs and updating contacts or pet information, helps prevent failures due to outdated details or forgotten procedures.
- Specificity in requests, local presence in the response chain, and proper pre-registration with shelters or vets are critical to avoid common gaps and delays.
- ID tags and microchips should be current and complemented by a visible collar or harness with contact info to ensure swift identification during emergencies.
- Multi-pet households require individualized dossiers and carefully planned chains that account for different needs and potential logistical challenges.
Table of Contents
- What Is a Disaster Plan for Pets, and Why Does It Work?
- The Three Pillars of an Emergency Pet Plan
- How Do You Set Up a Pet Emergency Plan Step by Step?
- What Should Your Pet Dossier and Fridge Sheet Include?
- How Do You Test and Maintain Your Plan?
- Common Mistakes That Break a Pet Emergency Plan
- Should Emergency Services or Animal Control Be Part of Your Plan?
- Who Should Talk to Whom While You’re Unavailable?
- Beyond the Microchip: How Should You ID Your Pet?
- Planning for Pets With Special Needs or Chronic Conditions
- How Do You Plan for Multiple Pets With Different Needs?
- Why MyPetsSafetyNet Built Around This Exact Setup
- Get Your Automated Check-In Running Today
- Your Next Steps, at a Glance
- Where to Read More
- Sources
What Is a Disaster Plan for Pets, and Why Does It Work?
A disaster plan for pets, in the sense that matters if you live alone, isn’t a hurricane kit or an evacuation route. It’s a system that answers one question: who finds out, and how fast, if you become unable to care for your animals? That’s a different problem than wildfire prep, and it needs a different solution.
The core mechanism is detection. You can have the most thoughtful emergency contact list in the world, but it does nothing if nobody knows to call it. That’s what an automated check-in solves. You confirm you’re okay on a set schedule, by text, call, or email, and if you miss that confirmation, the system escalates to the people you’ve already lined up. According to Oklahoma State University Extension, effective planning for solo pet owners rests on exactly three pillars: a daily automated check-in, a pre-designated response chain of two or more people, and a centralized pet information record those people can actually use.
Automated check-ins aren’t a novelty feature. They’re described in the ConfirmOk automated check-in guide as proactive systems that contact you on a schedule and escalate to caregivers when you don’t respond, typically with retry attempts built in before anyone gets alarmed unnecessarily. The gap they close is real. Without one, a neighbor might not notice anything wrong for days. With one, the clock starts ticking within hours of a missed check-in, which is often the difference between a pet going briefly hungry and a pet going without food or medication for a dangerous stretch of time.
The Three Pillars of an Emergency Pet Plan
Each pillar has specific requirements. Skip the specifics, and the plan looks complete on paper but fails when you actually need it.
1. The automated check-in. Set a daily cadence, not weekly. Build in at least one retry attempt before escalation triggers, so a single missed text doesn’t cause a false alarm. Define the escalation sequence in advance: who gets contacted first, second, and third if you don’t respond within your chosen window.
2. The response chain. You need at least two people, and one of them needs a way into your home. According to ASPCA planning guidance, the strength of this chain depends on how specific your ask is, not just how many names are on the list. Structure it in tiers:
- Tier 1: A nearby contact with a key or lockbox code who can check on your pets same-day.
- Tier 2: A backup who can provide or arrange short-term care if Tier 1 is unavailable or the situation runs longer than a day.
3. The pet dossier. This is the document that turns a willing contact into an effective one. It needs medications and doses, feeding schedule, your vet’s contact information, microchip number, and where supplies are stored. Oklahoma State University Extension notes that a laminated version on the fridge works because responders are trained to look there first in an emergency. A digital copy your contacts can pull up on their phone backs it up.
Pro Tip: Test your check-in window against your own routine before you finalize it. If you’re often out of cell range for six hours at a stretch, a four-hour window will trigger false escalations and train your contacts to ignore alerts, which defeats the whole purpose.
How Do You Set Up a Pet Emergency Plan Step by Step?
Building this out doesn’t take months. Spread across a couple of weeks, most of it fits into a handful of focused sessions.
Days 1 to 2: Line up your people.
- Identify two to three candidates, including at least one who lives close enough to reach your home same-day.
- Ask directly, not vaguely. Try: “Can I list you as my pet emergency contact, meaning you’d check on my cat if I don’t respond to a daily text?” A specific ask like this gets a real yes, according to ASPCA guidance, because the person knows exactly what they’re agreeing to.
- Give your Tier 1 contact a key or lockbox code. Confirm they know where it is and that it works.
Days 3 to 5: Configure the check-in.
- Choose a daily check-in time that matches your actual schedule.
- Set the response window and retry count. A suitable response window with at least one retry is recommended as a starting point for most people.
- Enter your response chain in escalation order: Tier 1 first, Tier 2 if Tier 1 doesn’t respond within a set time.
Week 2: Handle the paperwork and pre-registration.
- Ask your vet’s office for an authorization letter or consent form that names your emergency contacts. Without it, a clinic may not treat your pet on a contact’s say-so alone.
- Call a local boarding facility or sitter and pre-register your pet, even if you never end up using them. Facilities are often reluctant to accept an unfamiliar animal on short notice, per Oklahoma State’s guidance, so having a record on file in advance matters.
- Write and print your fridge sheet.
What Should Your Pet Dossier and Fridge Sheet Include?
Keep the language short and the layout obvious. A cluttered document slows down someone who’s already stressed. The Oklahoma State University Extension points out that simple, minimal wording beats a lengthy explanation every time, especially in a physical version meant to be read at a glance.
Your dossier should include:
- Pet name, species, breed, age, and photo
- Medications with exact doses and times
- Feeding schedule and any dietary restrictions
- Vet name, phone number, and clinic address
- Microchip number and registry
- Behavior notes (bites, escapes, anxiety triggers)
- Where food, leashes, and medications are physically stored
- Emergency contact names and phone numbers, ranked by tier
Post a laminated copy on the fridge and keep a digital version shared securely with your contacts, saved somewhere they can reach without needing your phone unlocked. A fridge sheet line might read: “Milo, 3 pills at 7am/7pm with food, see full sheet below for vet info.” A wallet card carried in your own purse or wallet can be shorter still: “I have a dog at home. Emergency contact: [name], [phone].” Our guide to pet care emergency document essentials has templates you can copy directly.
Pro Tip: Put a small sticker or magnet on the outside of your front door indicating a pet is inside. First responders check for this, and it can trigger a welfare check on your animals even before anyone reaches your dossier.
How Do You Test and Maintain Your Plan?
A plan you never test is a plan you’re only guessing works. Verification catches the weak points before they matter.
- Run a dry test. Deliberately miss a check-in and confirm the escalation actually reaches your Tier 1 contact, that they can get into your home, and that your vet’s office accepts the authorization on file.
- Check in quarterly. Confirm your contacts still have working keys or codes and are still willing and able to help.
- Update after any change. New medication, a new vet, a change in feeding schedule. Update the dossier the same week, not “eventually.”
- Do a full annual dry run. Repeat the complete test once a year, including the boarding pre-registration and vet authorization.
According to Oklahoma State’s research, plans fail most often through decay, not design flaws. Outdated contact numbers and expired keys are the usual culprits.
Pro Tip: If a test fails, treat it as useful information rather than a setback. A contact who doesn’t respond during a dry run needs to be moved to backup or replaced, before it’s a real emergency instead of a drill.
Common Mistakes That Break a Pet Emergency Plan
Most failures trace back to a handful of avoidable gaps.
- Vague requests. “Can you help out if something happens?” doesn’t tell anyone what to do. Replace it with a specific ask, like “Can you check on Bella if I miss my daily check-in?”
- A single point of contact. One person who’s traveling, sick, or simply doesn’t answer their phone that day leaves your pet with no backup. Build at least two tiers.
- No vet authorization on file. A clinic can legally decline certain treatments without documented consent from you, even with a willing contact standing in the lobby. A signed authorization letter closes that gap.
- Skipping pre-registration. Facilities often turn away unfamiliar animals during a crisis. A trial stay or paperwork on file in advance avoids that refusal.
- Relying on distant family. A sibling three states away can coordinate, but they can’t get a key into a lock. Local, physical presence has to be part of the chain.
Should Emergency Services or Animal Control Be Part of Your Plan?
Local animal control and emergency responders play a backstop role, not the primary one. Your automated check-in and response chain should resolve most situations before either ever gets involved, but you still want them in the picture as a last layer.
Post a pet alert sticker on your front door or window so first responders know to look for an animal during any welfare check, medical call, or fire response. Some local police and fire departments keep a voluntary registry of households with pets or vulnerable residents. Check whether yours does, and register if it exists.
If your response chain reaches a point where nobody can respond, that’s when animal control becomes relevant, either through a contact calling them directly or a welfare check turning one up. Give your dossier’s location to your Tier 1 contact specifically so they can hand it to responders or a vet without delay. Speed matters here. A responder standing in your kitchen with a fridge sheet in front of them can act in minutes. One without any information has to guess, and guessing costs your pet time it may not have.
This layer is intentionally thin. You’re not building a relationship with the local shelter or asking animal control to check on your cat weekly, that’s what your response chain is for. You’re making sure that if your plan’s first two layers both fail, professionals who show up have what they need instead of an empty apartment and no context.
Who Should Talk to Whom While You’re Unavailable?
Confusion during an emergency usually comes from unclear roles, not bad intentions. Decide in advance who talks to whom, and put it in writing.
Your Tier 1 contact should be the first point of communication and the one authorized to make immediate decisions, like feeding your dog or calling your vet. Your Tier 2 contact should know they’re activated only if Tier 1 can’t respond within your chosen window, and should get a direct notification rather than finding out secondhand. If your check-in service supports it, configure notifications so both tiers receive the same core information at once: which pet, what’s needed, and where the dossier lives.
Establish one rule everyone follows: whoever responds first updates the others. A quick text, “I’m at the house, Milo’s fine, fed him at 3pm,” prevents duplicate trips and mixed signals. Without that rule, you can end up with two contacts arriving independently, or worse, both assuming the other has it handled.
If you’re hospitalized rather than simply unreachable, add a step: your Tier 1 contact should know to update your vet directly if your pet needs ongoing care decisions made, since a hospital stay can stretch from a day to a week without warning. Our post on what happens to your pets if you’re hospitalized walks through how that timeline typically unfolds and what decisions tend to come up.
Beyond the Microchip: How Should You ID Your Pet?
A microchip is permanent, but it’s useless to anyone who doesn’t have a scanner in hand. Visible identification does the job faster in the moments that matter most.
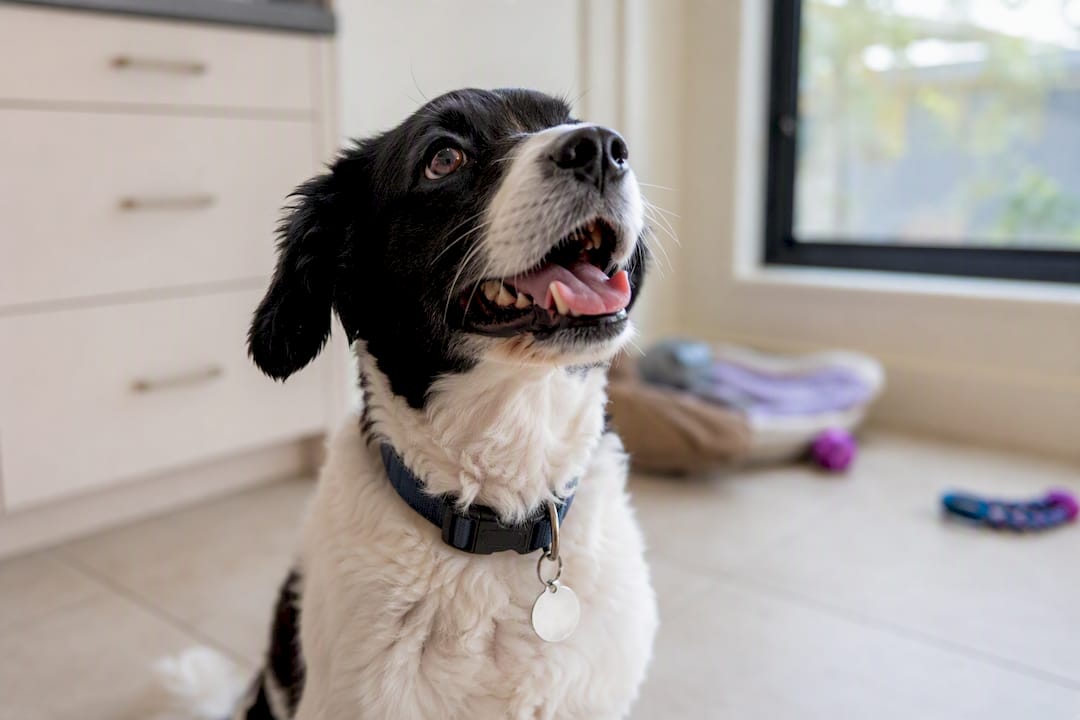
Every pet in your plan should wear a collar with a current ID tag listing your phone number and, ideally, a second emergency contact’s number. If your primary phone is the one going unanswered, a second number on the tag gives a finder somewhere else to turn. Update the tag immediately after any phone number or address change, a step people forget far more often than updating the microchip registry.
Consider a second identifier for pets prone to escaping stress, like a slip-resistant harness with an ID panel, especially for cats, who lose collars more easily than dogs. For multi-pet households, color-code collars or tags by pet if names could get confused in a hurried handoff between contacts.
None of this replaces the microchip. It supplements it. A tag gets a lost pet home in an hour; a microchip confirms ownership if the tag falls off or the animal ends up at a shelter days later. Keep both current, and note the microchip number and registry in your dossier so a contact can report it if your pet goes missing during an emergency.
Planning for Pets With Special Needs or Chronic Conditions
A pet on daily insulin or a strict prescription diet raises the stakes on every part of this plan. The dossier needs to be more precise, not just longer.
List exact medication timing, not just “twice daily.” Note what happens if a dose is missed or delayed, and whether that requires an immediate vet call. If your pet needs injections, note whether your Tier 1 contact is trained to give them or whether that responsibility needs to shift to your vet or a Tier 2 boarding option with medical staff.
For pets with mobility issues, anxiety conditions, or sensory limitations, add behavior notes that matter to a stranger handling them for the first time. A senior dog who’s deaf may need a hand signal instead of a called name. A cat with a history of hiding when stressed may need fifteen minutes of quiet before a contact even attempts to locate them.
Choose your boarding or sitter pre-registration with this in mind. Not every sitter is equipped for a pet needing injections or a specialized diet. Confirm capability during pre-registration, not after an emergency has already started.
How Do You Plan for Multiple Pets With Different Needs?
Multiple pets multiply the coordination problem, but the fix is the same dossier structure, applied per animal instead of per household.
Give each pet its own section in the dossier, even if they share a page. A dog on no medication and a cat on twice-daily insulin need very different levels of detail, and burying the cat’s schedule inside a combined paragraph is how doses get missed. List feeding separately too. Pets on different diets or fed at different times need that spelled out individually rather than assumed.
If your response chain includes a boarding pre-registration, confirm the facility can take all your pets together or has a plan for splitting them between locations if needed. Some smaller boarding operations cap the number of animals they’ll take from one household during an emergency. Ask directly. Note in your dossier which pets get along and which need to be kept apart if a contact has to manage a temporary shared space.
For households with three or more pets, a single overwhelmed contact is a real risk. Build your response chain assuming Tier 1 may need Tier 2’s help simply because of volume, not because Tier 1 failed.
Why MyPetsSafetyNet Built Around This Exact Setup
MyPetsSafetyNet exists because this problem is specific and underserved: what happens to your pets if something happens to you and you live alone? The service was built directly around the three pillars this article covers, not adapted from something else.
Its check-in scheduling, escalation workflow, and pet profile fields map onto the response chain and dossier structure step for step, so you’re not stitching together a spreadsheet and a separate alert app. Pair it with any legal arrangements you already have, like a pet trust or a written care agreement, and you’ve covered both the short-term detection gap and the long-term plan.
— MyPetsSafetyNet
Get Your Automated Check-In Running Today
Everything covered above, the automated check-in, the tiered response chain, the pet dossier, is exactly what MyPetsSafetyNet was built to run for you. Instead of piecing together a separate alert app, a shared document, and a paper checklist, you configure it once: daily or custom check-in intervals, up to three emergency contacts in escalation order, and pet profiles for up to five animals with the medication, feeding, and vet details your dossier needs.
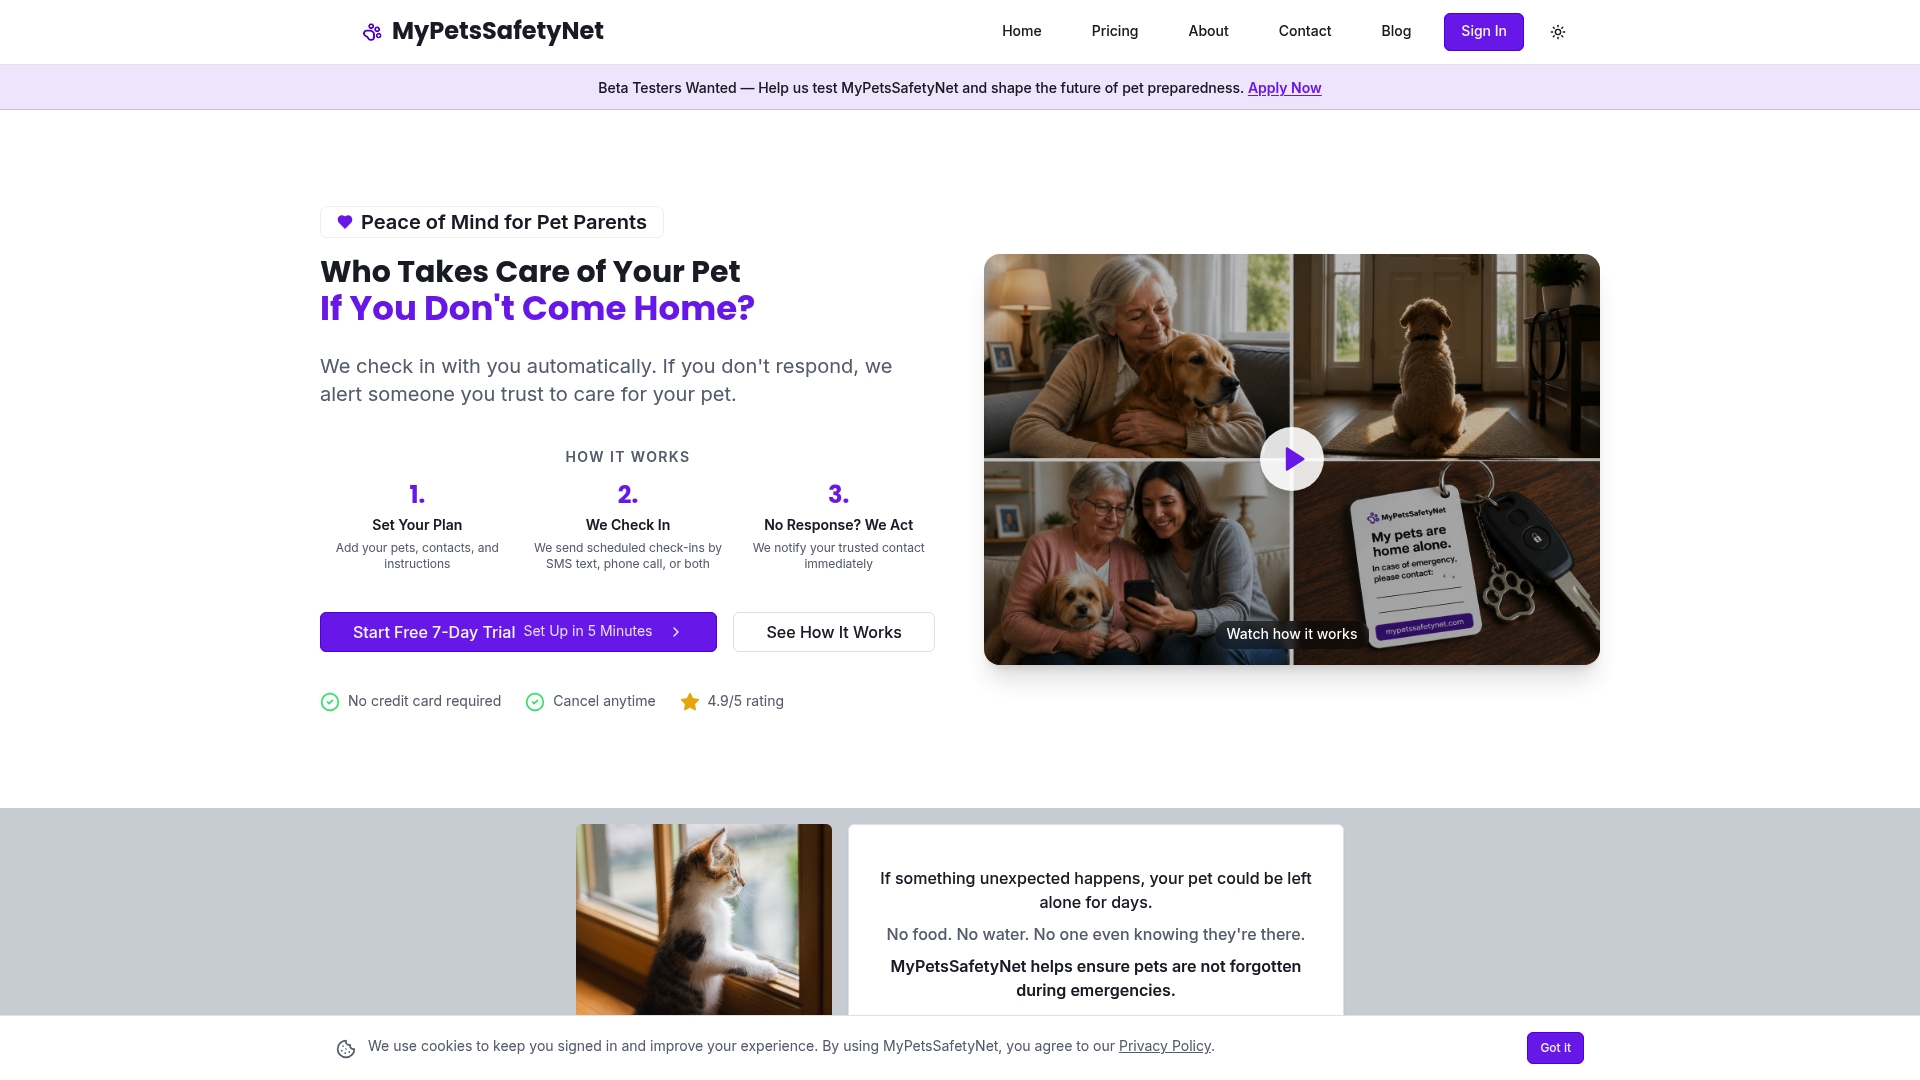
Start by downloading the free pet card, a ready-made version of the fridge sheet and wallet card described earlier in this article. From there, set up your check-in schedule and load your response chain into your MyPetsSafetyNet profile, prioritizing your Tier 1 contact first. If you’re deciding how alerts should reach your contacts, the SMS consent details explain exactly how messaging works so you can configure it with confidence. A free trial gets the whole system running in under fifteen minutes.
Your Next Steps, at a Glance
Small, sequenced actions beat a plan that stays half finished on a to-do list.
- Set up your automated check-in and name at least two contacts within 24 hours.
- Print your fridge sheet and post it somewhere obvious right away.
- Hand a key to your Tier 1 contact and request a vet authorization letter within a week.
- Pre-register with a sitter or boarding facility within that same week.
- Run a full dry test within a month, then repeat it annually.
| Timeframe | Action |
|---|---|
| 24 hours | Configure check-in, name two contacts, post fridge sheet |
| 1 week | Give Tier 1 a key, get vet authorization signed, pre-register a sitter or boarder |
| 1 month | Run a dry test and correct any gaps you find |
Where to Read More
- Pet emergency preparedness (Oklahoma State University Extension)
- Making a plan for your pet (ASPCA)
- Emergency pet care plan checklist (MyPetsSafetyNet)
- Who checks on pets if an owner is hospitalized (MyPetsSafetyNet)