Cat Litter Instructions Every Owner Should Follow
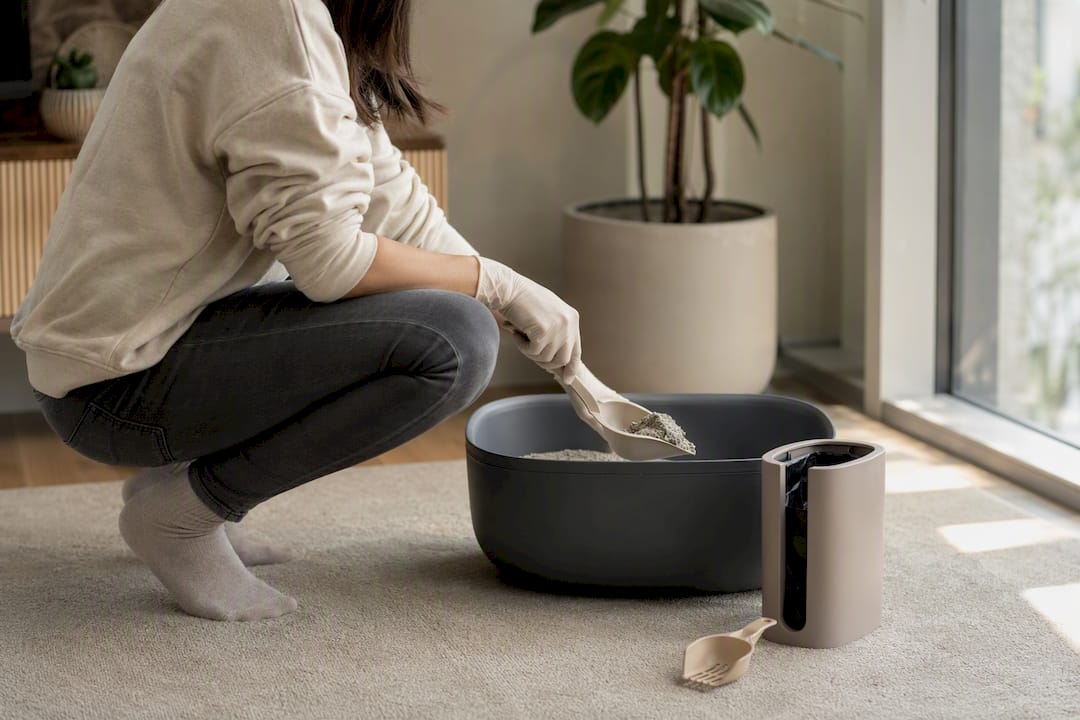
Do this first: give your cats one more litter box than the number of cats you have, fill each box with a moderate depth of unscented litter suitable for digging, and scoop at least once a day. That’s the whole system in one sentence, and it’s the foundation everything else in this guide builds on. Following it correctly, per the ASPCA’s litter box guidelines, prevents most of the avoidance problems that send cats to shelters.
Before you set anything up, gather:
- A box (or boxes) sized to your cat
- A metal or sturdy plastic scoop
- A litter mat to catch tracking
- Unscented clumping litter for adult cats
- Small trash bags for daily disposal
If your cat suddenly stops using the box after using it reliably, don’t assume it’s behavioral. Call your veterinarian first. Sudden avoidance is one of the more reliable early signs of a urinary tract infection or other painful condition.
Key Takeaways
Consistent litter box success comes down to the N+1 rule, correct depth and litter type, daily scooping, and gradual transitions whenever anything changes.
| Point | Details |
|---|---|
| Follow the N+1 rule | Provide one more litter box than the number of cats to prevent territorial avoidance. |
| Scoop daily, deep clean monthly | Scoop solids once or twice a day and wash boxes with unscented soap monthly. |
| Match litter depth to type | Use 2 inches of non-clumping litter or 3 inches of clumping litter for adult cats. |
| Move boxes gradually | Shift a box a few inches a day rather than relocating it all at once. |
| Document the routine | Mypetssafetynet’s free pet care card stores box locations and cleaning schedules for caregivers. |
Where This Information Comes From
- ASPCA: behavioral guidance on box number and placement.
- Purina: cleaning frequency and litter type recommendations.
- Arm & Hammer: placement rules and gradual relocation method.
- Zoetis Petcare: troubleshooting elimination problems.
- Litter-Robot manual: staged automatic box introduction steps.
Table of Contents
- How Do You Set Up a Litter Box Correctly?
- How Often Should You Clean a Litter Box?
- How Do You Deep Clean and Dispose of Old Litter?
- How Do You Train a Kitten or Switch Litter Types?
- Why Is Your Cat Avoiding the Litter Box?
- Adjusting Litter Setups for Kittens, Seniors, and Multi-Cat Homes
- Sources
How Do You Set Up a Litter Box Correctly?
Getting the setup right the first time saves you weeks of troubleshooting later. Follow this sequence.
- Count your boxes using the N+1 rule. One cat needs two boxes. Two cats need three. This isn’t about litter volume. It’s about giving each cat a backup option so territorial disputes or a dirty box never leave them without a place to go.
- Place boxes with real separation. A quiet, accessible spot works best. Keep boxes away from food and water bowls, washing machines, and high-traffic hallways. In multi-cat homes, spreading boxes across separate rooms matters more than the total count. Two boxes side by side in one closet often function as a single option in a cat’s mind, which quietly defeats the N+1 rule. If your cats use more than one floor of the house, put at least one box on each level they frequent, according to Arm & Hammer’s setup guide.
- Choose the right size and style. The box should be about 1.5 times your cat’s body length from nose to tail base, which rules out most “cat sized” boxes sold in stores for anything but kittens. Open boxes let owners spot problems fast and suit cats who dislike enclosed spaces. Covered boxes trap odor inside and can feel like a trap to a nervous cat. Top-entry boxes cut down on litter tracking but are hard for kittens, seniors, or anything with mobility issues to climb into. For those cats, a low-entry box is the safer default.
- Pick your litter and depth. Unscented clumping litter is the right choice for most adult cats, since it lets you scoop the exact spot they used. Kittens under three months should use non-clumping litter to avoid ingestion risk. Depth matters more than people expect: a shallow layer for non-clumping but a slightly deeper layer for clumping litter, according to Purina’s litter box guidance. Low-dust formulas are worth the extra cost if anyone in the house has asthma or allergies.
Pro Tip: If you’re not sure which litter your cat prefers, set out two boxes with different litters side by side for a week. Cats vote with their paws, and the box they use consistently tells you everything.
How Often Should You Clean a Litter Box?
A predictable schedule beats a reactive one. Here’s the routine that keeps odor down and catches health problems early.
- Daily: Scoop solids and urine clumps at least once a day. Multi-cat households should scoop twice daily, since waste accumulates faster and unscooped boxes are the single biggest driver of avoidance.
- Weekly: Top off litter to the full recommended depth and wash or shake out the mat underneath. Check the bottom of the box for stains or a slick residue that scooping alone won’t remove.
- Monthly (or as needed): Dump the entire box, wash it with warm water and an unscented soap or a baking soda paste, and let it dry completely before adding fresh litter. Skipping the dry step traps moisture that clumping litter will stick to immediately.
Keep the scoop within reach of the box and store a spare bag of litter nearby so a top off never turns into a two-day delay. Avoid ammonia-based cleaners entirely. Cat urine already contains ammonia, and the smell can make a freshly cleaned box smell like a dirty one to a cat’s nose.
Daily scooping does more than control odor. It’s usually how owners first notice a change in urination frequency or stool consistency, according to Purina, which is often the earliest warning sign of a health issue worth mentioning to your vet.
How Do You Deep Clean and Dispose of Old Litter?
A full reset once a month (or immediately if odor lingers) keeps the box from becoming a reason your cat looks elsewhere.
- Scoop out everything you can first, then dump the remaining litter into a sealed trash bag.
- Wash the empty box with warm water and unscented soap or a baking soda paste. Skip scented cleaners and anything with bleach, which can leave a residue cats find offensive.
- Rinse thoroughly and let the box air dry completely. A damp box left in a closet grows bacteria fast.
- Refill with fresh litter to the correct depth before your cat’s next expected visit.
If you use a liner, know the tradeoff: liners make disposal faster but many cats dislike the way claws catch on the plastic while digging, which can cause them to avoid the box entirely. Test one liner before committing to a full pack.
Never flush used litter, even brands labeled “flushable.” Bag it and put it in household trash. Don’t dump it in the garden either. Cat waste can carry parasites that survive in soil for months. If the box itself has deep scratches or holds onto odor no amount of washing removes, it’s time to replace it entirely, since scratched plastic traps bacteria in ways scrubbing can’t reach.

How Do You Train a Kitten or Switch Litter Types?
Every transition, whether it’s a new kitten, a new litter brand, or a new machine, goes smoother when you slow down and let the cat lead.
- Training a kitten: Place the kitten in the box a few minutes after meals and after naps, when the urge to go is strongest. Use a low-entry box with shallow litter so climbing in isn’t a barrier. A little praise when they use it correctly reinforces the habit quickly.
- Switching litter brands: Mix 75% old litter with 25% new for the first few days, then move to a 50/50 blend, then 25/75, then fully new by the end of two weeks. Watch for scratching at the door, accidents nearby, or reduced use at each stage. Any of those signs mean you slow down or revert to the previous ratio.
- Introducing an automatic or self-cleaning box: Keep the unit powered off at first and add a scoop of your cat’s already-used litter so the new box smells familiar. Let your cat explore and use it manually for several days before running any cycles, following the same phased approach outlined in most automatic litter box manuals. Only power on full auto mode once your cat uses the box confidently.
- Relocating a box: Move it a few inches per day rather than across the room in one move. The gradual shift keeps the location familiar enough that your cat never has to search for it.
Pro Tip: If you’re switching to a pellet based or specialty system, keep the old box active alongside it and gradually increase the new litter’s share rather than swapping cold turkey, a staged approach Purina recommends for Tidy Cats Breeze setups.
Why Is Your Cat Avoiding the Litter Box?
Rule out medical causes before you touch anything else. A urinary tract infection, kidney disease, or arthritis pain can all make a cat associate the box itself with discomfort, so a sudden change in behavior deserves a vet visit before a new litter brand.
Once medical issues are cleared, look at these common behavioral triggers:
- Too few boxes: If you’re under the N+1 count, add one before changing anything else.
- Conflict between cats: One cat guarding access to the box will push another to eliminate elsewhere. Separate the boxes into different rooms entirely.
- Dislike of litter type or texture: Offer two litters side by side for a week, since cats reveal strong preferences fast, an approach the ASPCA recommends for pinpointing aversions.
- Location stress: Move the box gradually, a few inches per day, to a quieter spot rather than relocating it all at once.
Pro Tip: A pheromone diffuser near the litter area can lower general stress enough to resolve marking behavior that isn’t tied to a specific complaint.
If problems persist after these fixes, or if you notice blood in the urine or a sudden spike or drop in how often your cat goes, treat it as an urgent veterinary matter, not a training issue.
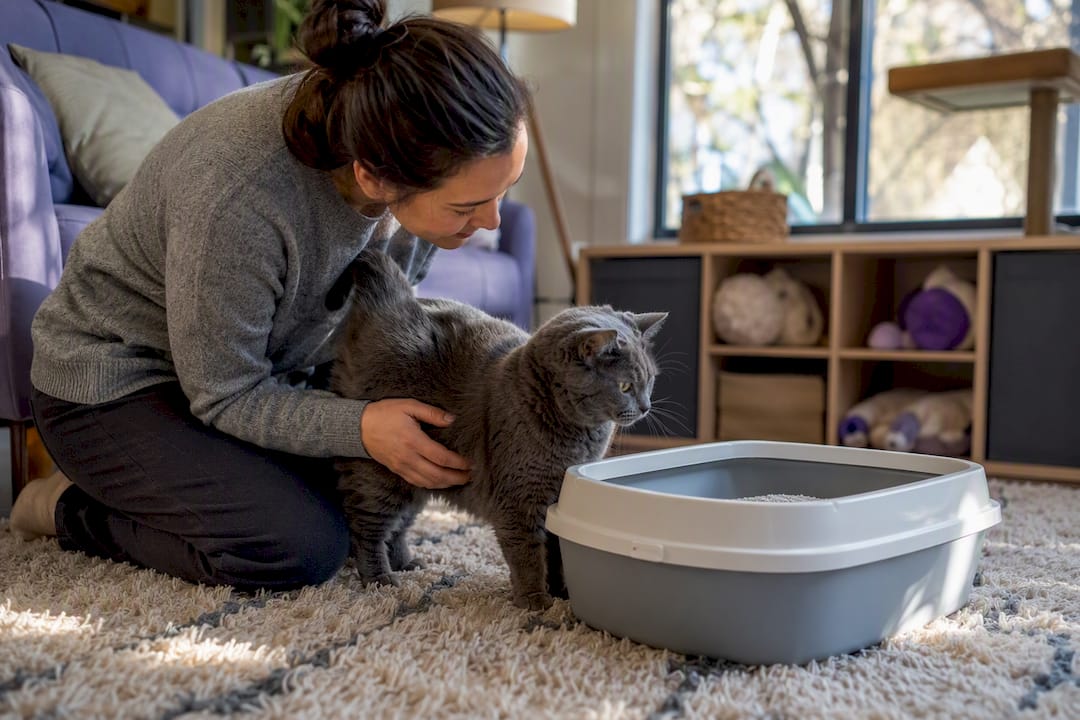
Adjusting Litter Setups for Kittens, Seniors, and Multi-Cat Homes
Different life stages and households need different tweaks to the basic setup.
- Kittens need low-entry boxes, shallow litter, more frequent cleaning, and extra boxes since young cats haven’t yet learned to wait.
- Senior or mobility-limited cats do better with low-entry or ramped boxes, a non-slip mat for stability, and box placement on the main living level so stairs never become the reason for an accident.
- Multi-cat households need the full N+1 count spread across separate locations, along with feeding areas kept apart from litter areas and a bump up in scooping frequency.
- Small spaces call for furniture-style enclosures like a rattan-style litter box that hides the box visually while keeping the opening easy for your cat to access.
A note on documenting routines for caregivers
Every rule in this guide only works if whoever feeds and cares for your cat when you can’t follows it consistently. We’ve seen how often a good litter routine falls apart the moment a substitute caregiver has to guess at box locations or cleaning frequency. A free pet care card gives you a place to write it all down once, so nobody has to guess later.
— MyPetsSafetyNet
Turn Your Litter Routine Into a Caregiver-Ready Plan
You’ve just built a complete litter care system, but none of it helps your cat if you’re unexpectedly unavailable and the person checking in has no idea where the boxes are or when they were last cleaned.
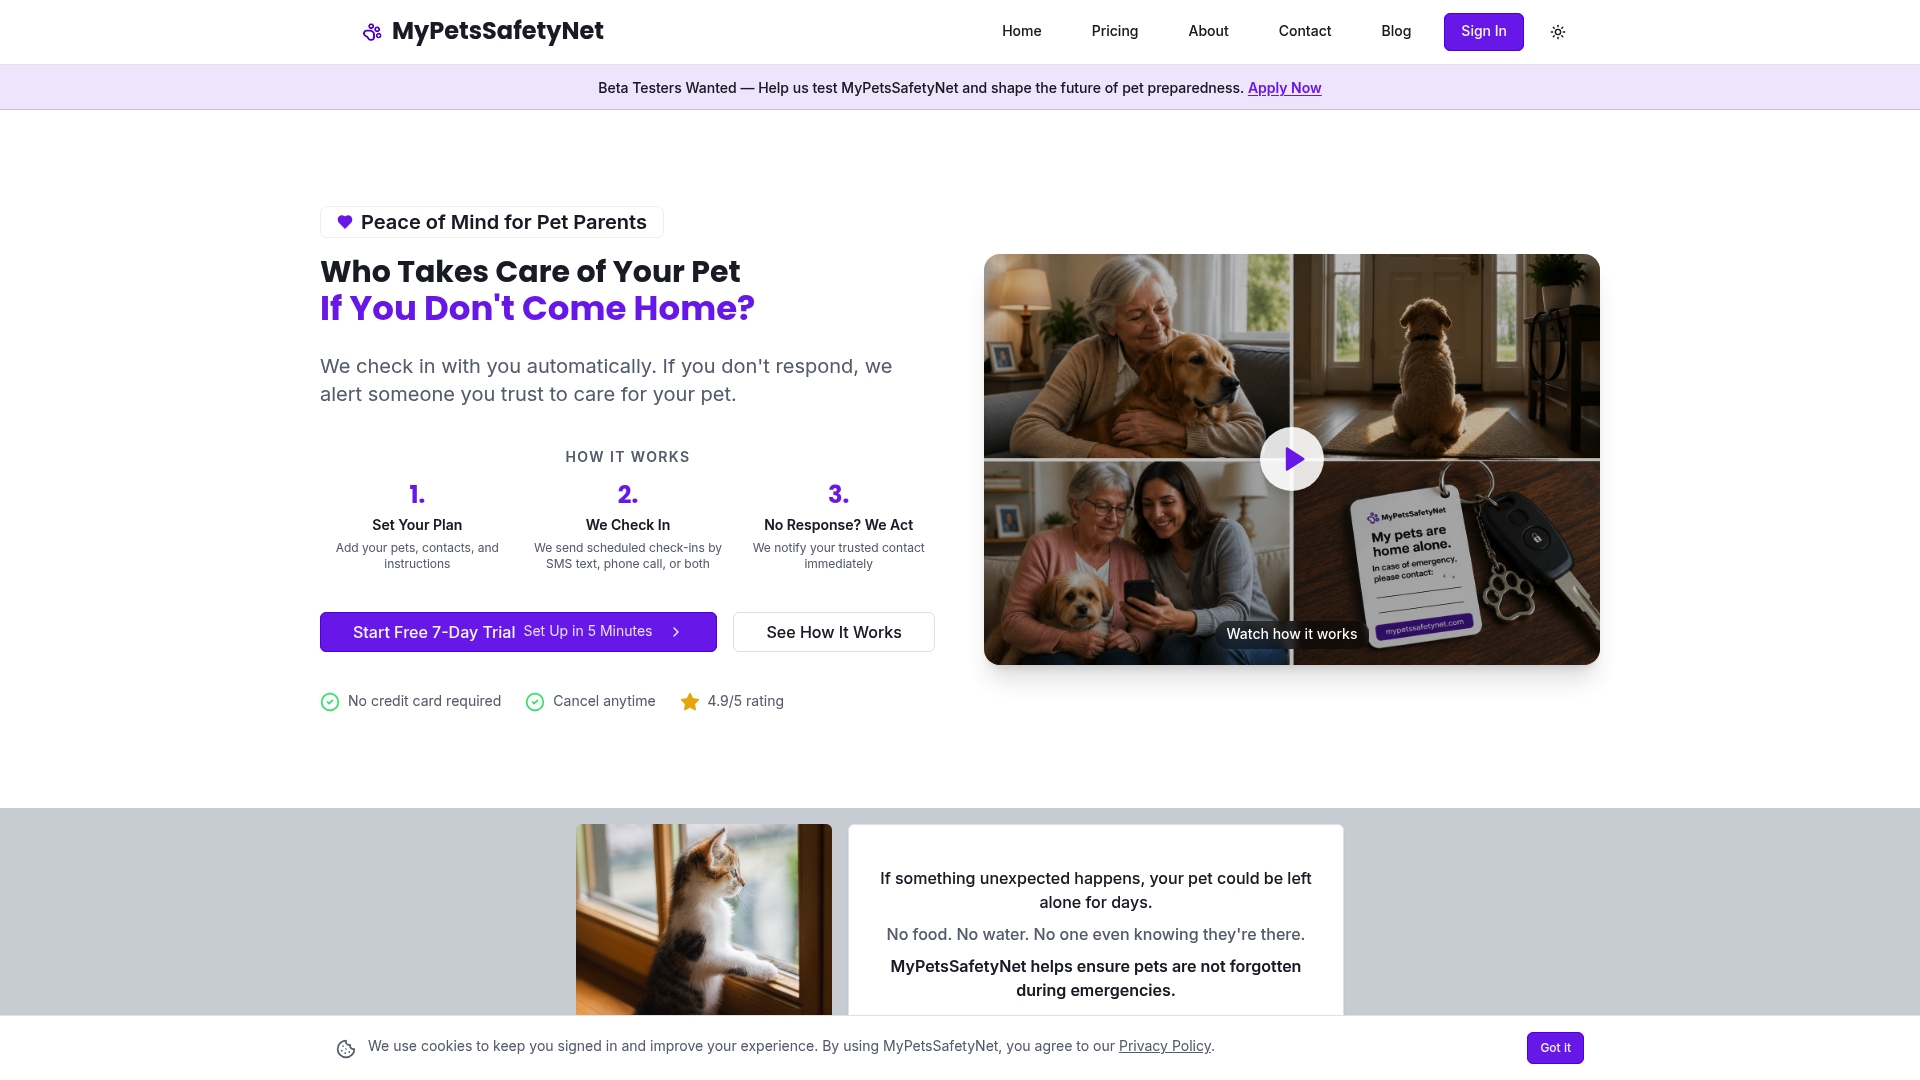
Mypetssafetynet’s free pet care card gives you a simple place to record exactly what you just set up: how many boxes, where each one lives, your scooping schedule, and which litter your cat prefers. Pair that with our automated wellness check-in, and if you ever miss a scheduled response, your emergency contact receives your pet’s full care details automatically, including the litter routine you documented. It’s a small step that turns “I hope someone figures it out” into a clear, written handoff. You can also log feeding schedules alongside litter care using our pet feeding schedule template for a complete daily care picture. Start your free pet care card today and give your cat’s caregiver everything they’d need on day one.
Sources
- Litter box problems | ASPCA
- Cat Litter Box Tips – Do’s & Don’ts of Litter | Purina
- How to Set Up a Litter Box for Success | Arm & Hammer
- Litter-Robot 4 manual